#10 Painting metal
Metal has been a material that I’ve always found hard to paint, until I figured it out. Here are some techniques that might be useful to you. So let’s try and paint a knights armor! This is specifically a tutorial on how to paint digitally though, but maybe you find something interesting as a traditional painter as well. It is also a tutorial for intermediate digital painters, so if you are a beginner check out my other tutorials first. You can use any software, but I always use Krita. It’s free and open source and really powerful!
painting metal
-
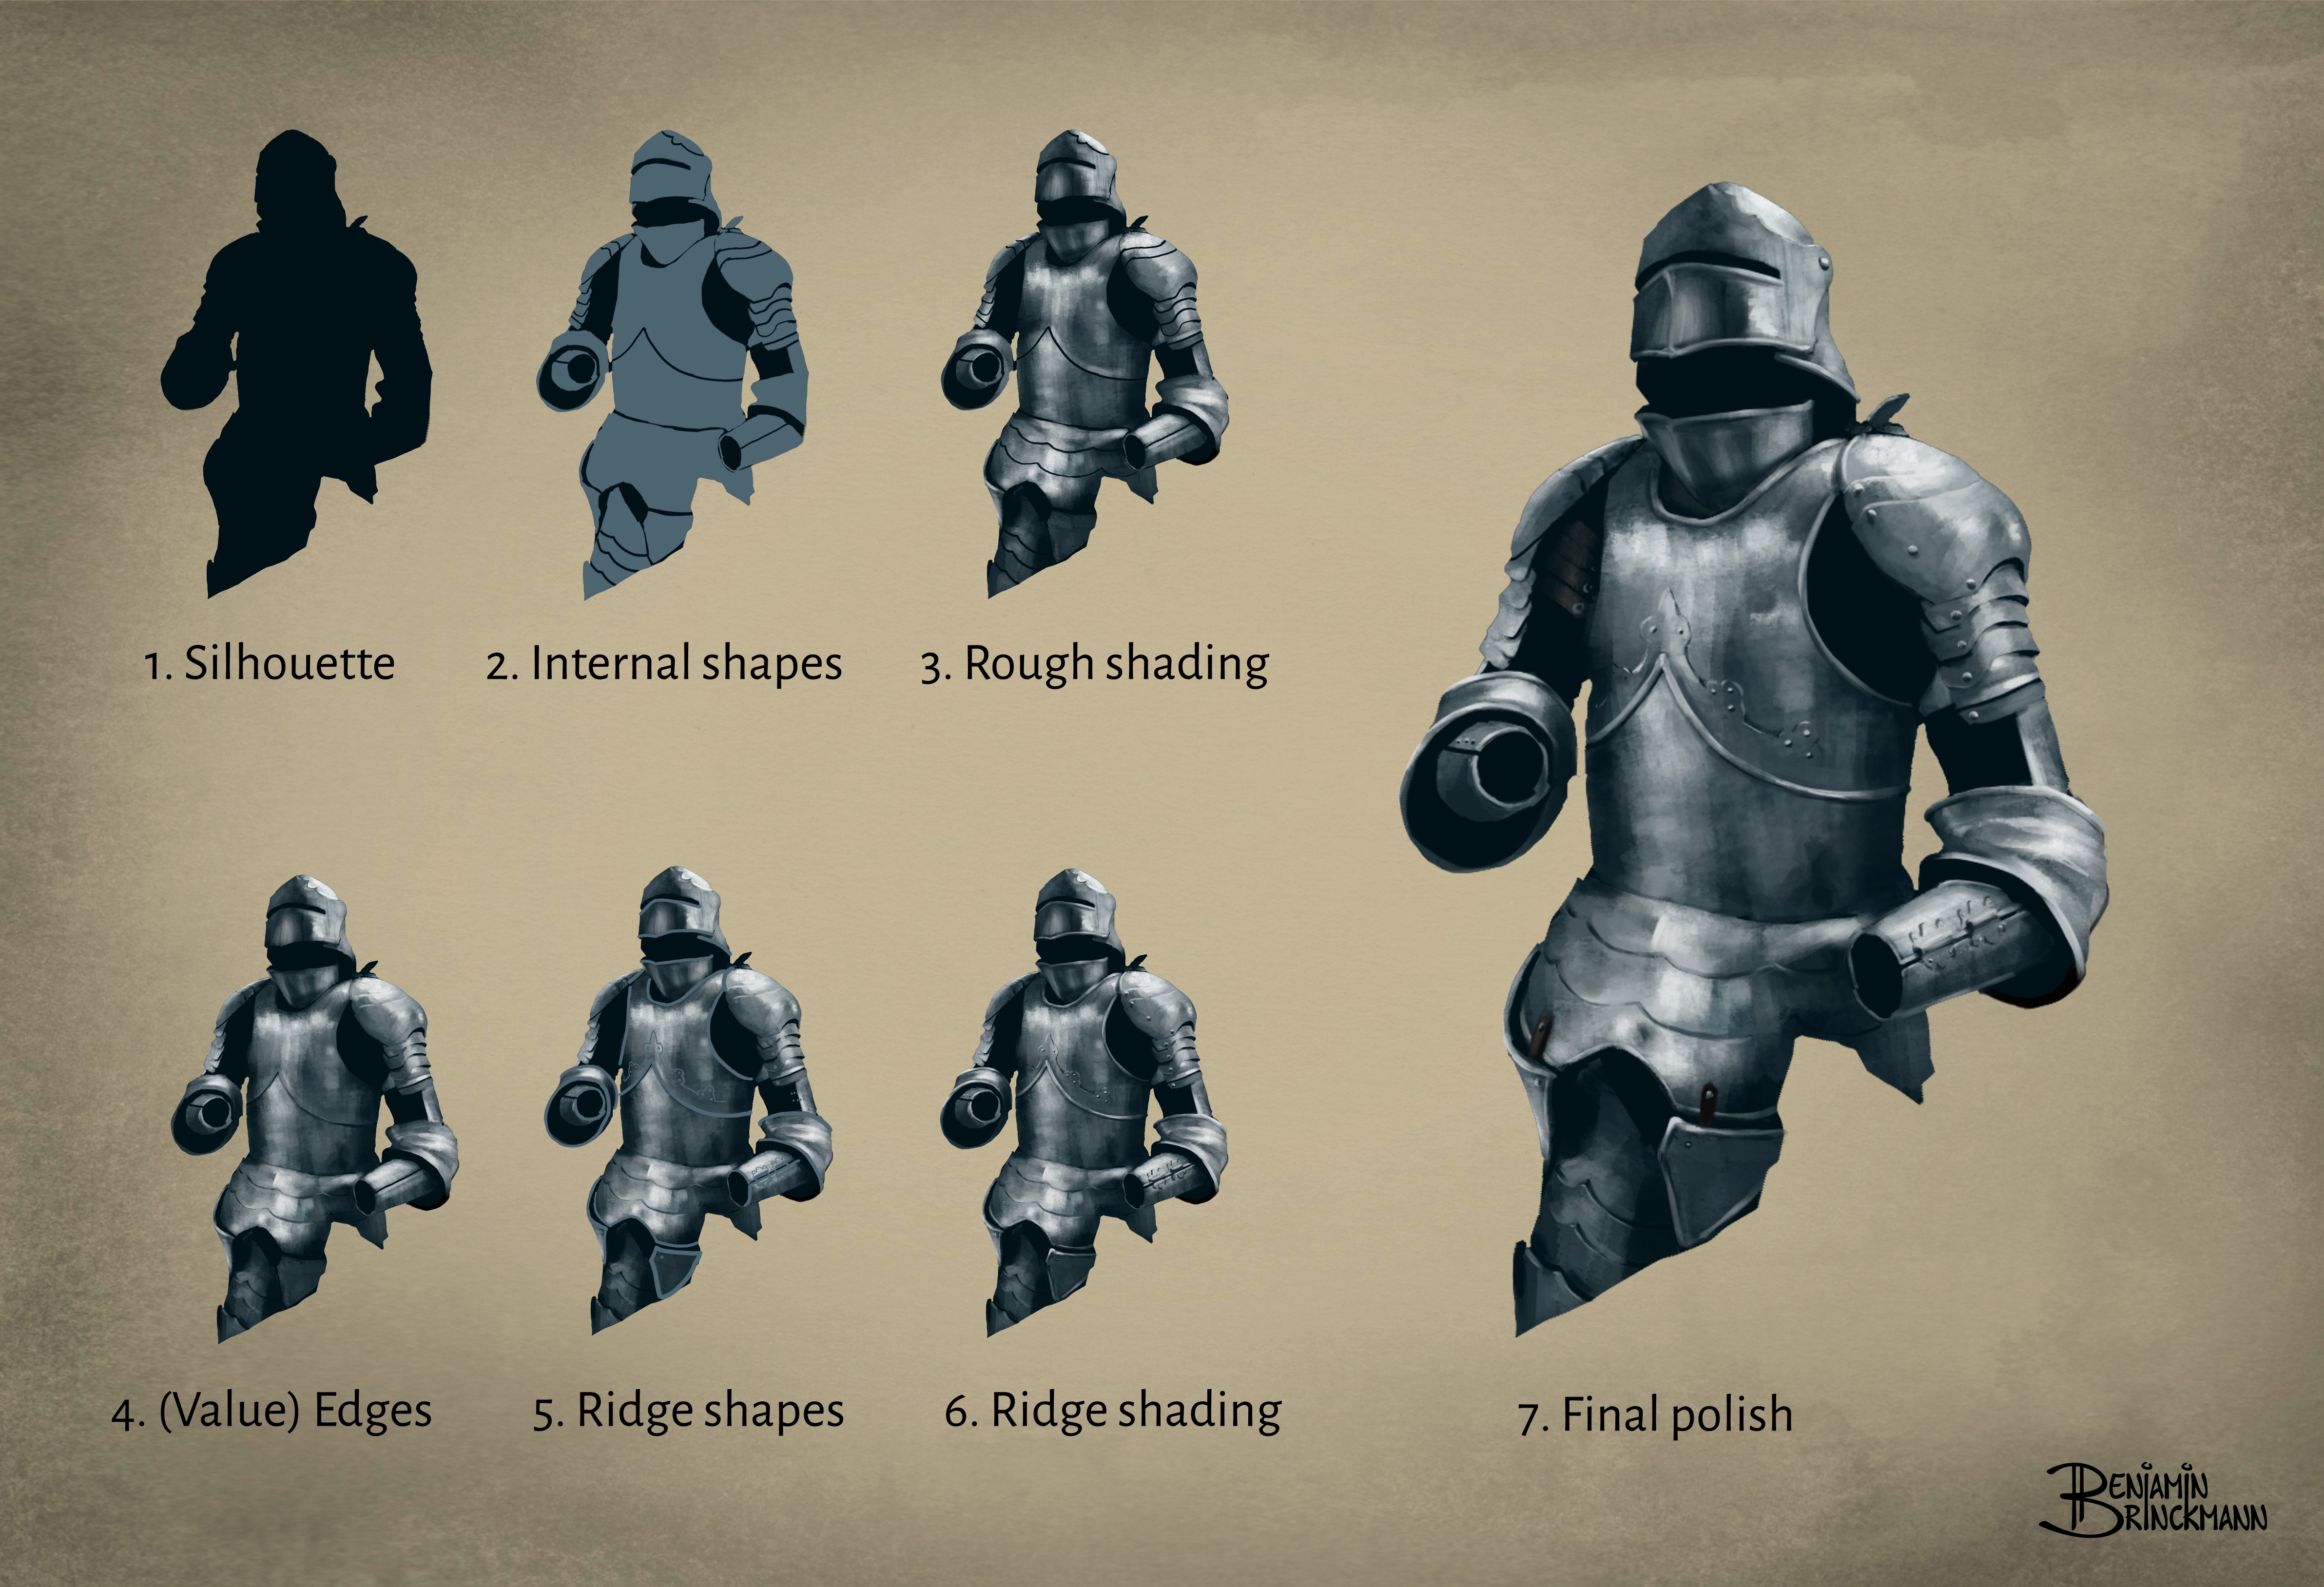
I start out by painting a silhouette of the shape on a seperate layer. You can also draw a sketch first and than paint the silhouette in a seperate layer.
-
Make a new layer and select the silhouette shape by ctrl+clicking on the silhouette layer (works in photoshop as well), or by making a multiply group in Krita (if you want a non-destructive workflow). Now you can paint inside of the silhouette and your paint won’t spill outside of the shape. In the new layer I paint all the metal plates of the armor in a single flat color. I use a hard round brush for this.
-
I again make a new layer and this time I select the internal shapes in the same manner as we selected the silhouette shape in step 2. This time I won’t be able to paint outside of the internal shapes. Now I actually start shading the metal in the new layer. For this it is best to work from a reference image, so that you don’t have to focus on understanding how metal reflects, but rather on how to get that reflection effect. There is no recipe for this, you need to use your artistic sense, but there is a very nice tip for quickly getting those hard highlights: choose your digital brush, than set the blending mode to multiply. Reduce the opacity to 30–40% (you can experiment with this rate). Now when you paint a stroke on top of another stroke, the value is becoming lighter. Paint several more and suddenly you get a hard highlight. In this way you can quickly paint a metallic surface. Don’t worry about the color right now, you can color it later, either by locking the opacity of the layer and painting over it, or by adjusting the color with an HSV filter.
-
Again I make a new layer and this time I reselect the silhouette shape. In the new layer I start painting all of the value edges between the internal shapes. Again, there is no recipe, look at your reference and paint what you see. In this step I usually set the blending mode of my brush back to normal and pick the color from the layers below, to have a bit more control.
-
A piece of armor has all kinds of ridges, bolts and rivets. It’s better not to focus on those in the first steps, but paint them on later. I look at what the shapes of these little extra’s are and paint their silhouettes with a flat color in a seperate layer on top.
-
I then make a new layer to paint in and select the rigde shapes in the same manner as we have selected shapes before. I set the blending mode of my brush to multiply again, reduce the opacity and start shading the ridges and rivets.
-
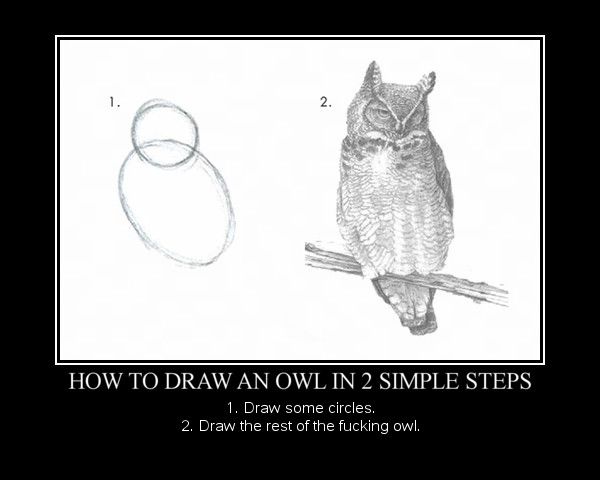
Eventually we get to the final polish, the “draw the owl meme” phase. Here you have to use your artistic skills to give your image the final quality you want. The only way to get good at this is by painting lots and lots of different stuff. But what has helped me enormously, is letting go of wanting control over the image in this phase. Make a copy of your layers and merge them all into one. Start painting on top and smudging colors and edges. Have fun and try out new things :)